How to Assemble Your Plycat House — A Quick & Easy Guide
At Plycat, we believe your cat deserves more than just a cardboard box 📦. That’s why we design beautiful, modern , and easy-to-build cat houses that both you and your feline will love 💛
In this short guide, we’ll walk you through assembling your Plycat house step-by-step. You don’t need any tools or special skills—just a few minutes and a curious cat nearby🐾😺
🪵 Step 1 — Unpack and Organize
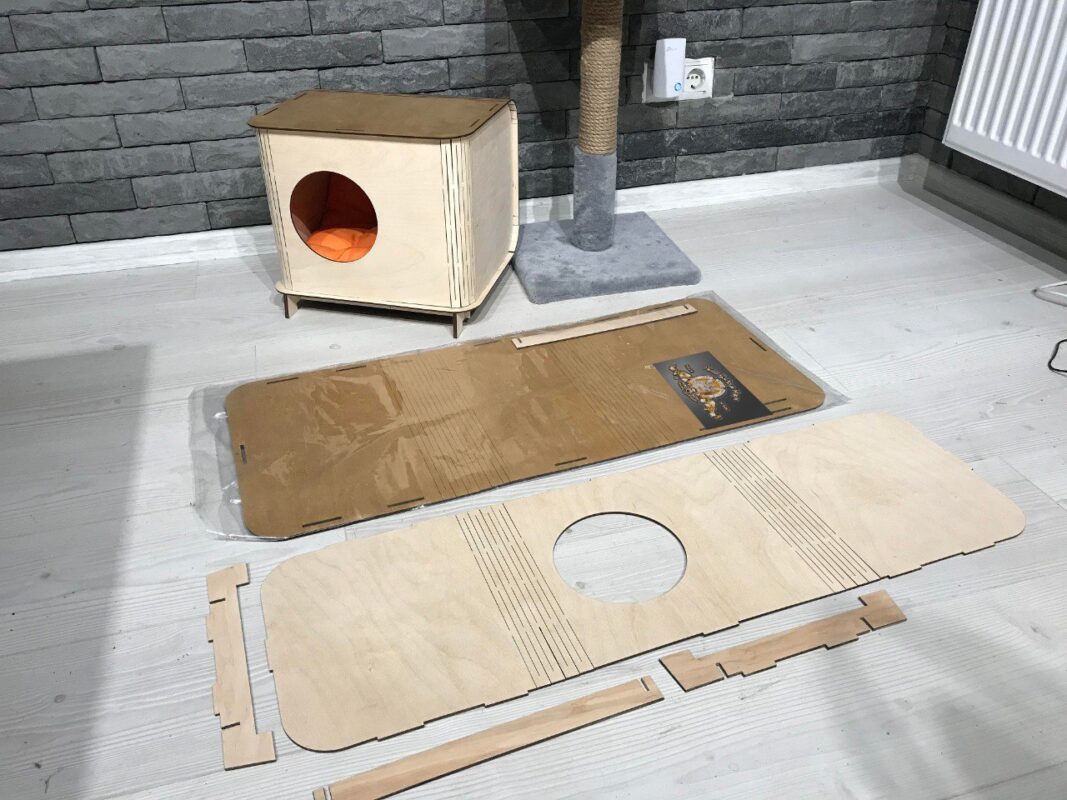
Lay out all the parts on a clean surface. Check that you have everything listed in the instructions. The panels are labeled and pre-cut, so you won’t need screws or glue

🧩 Step 2 — Connect the Panels
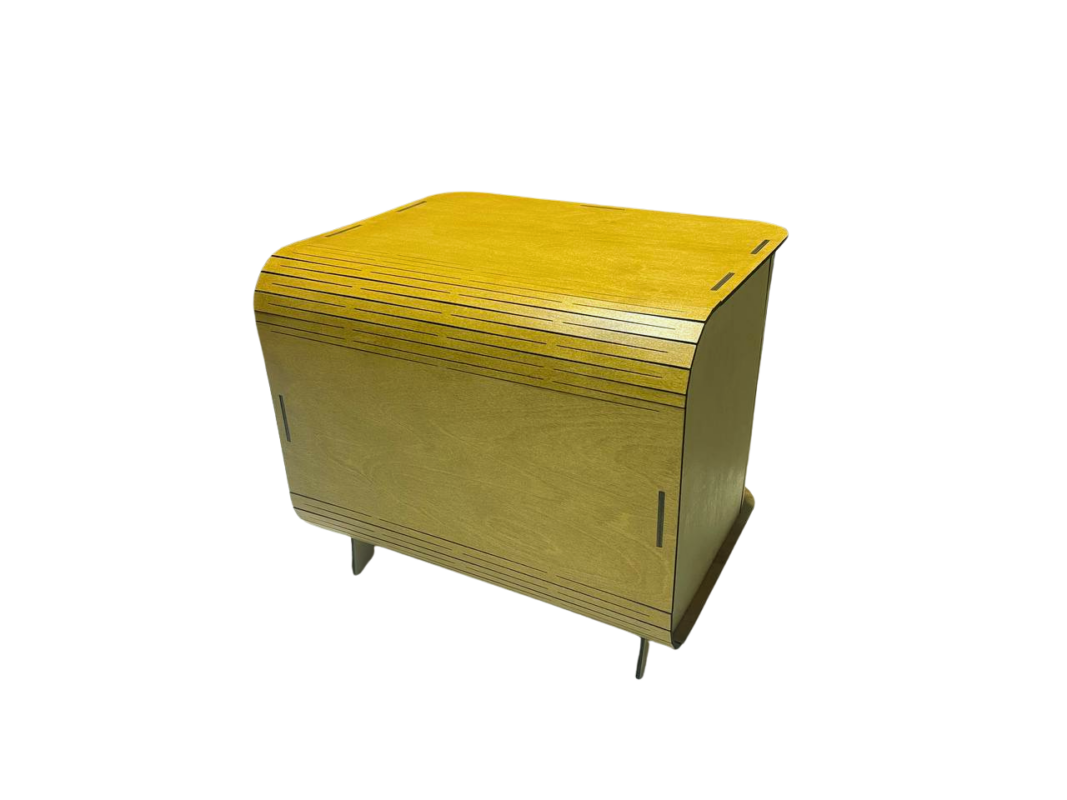
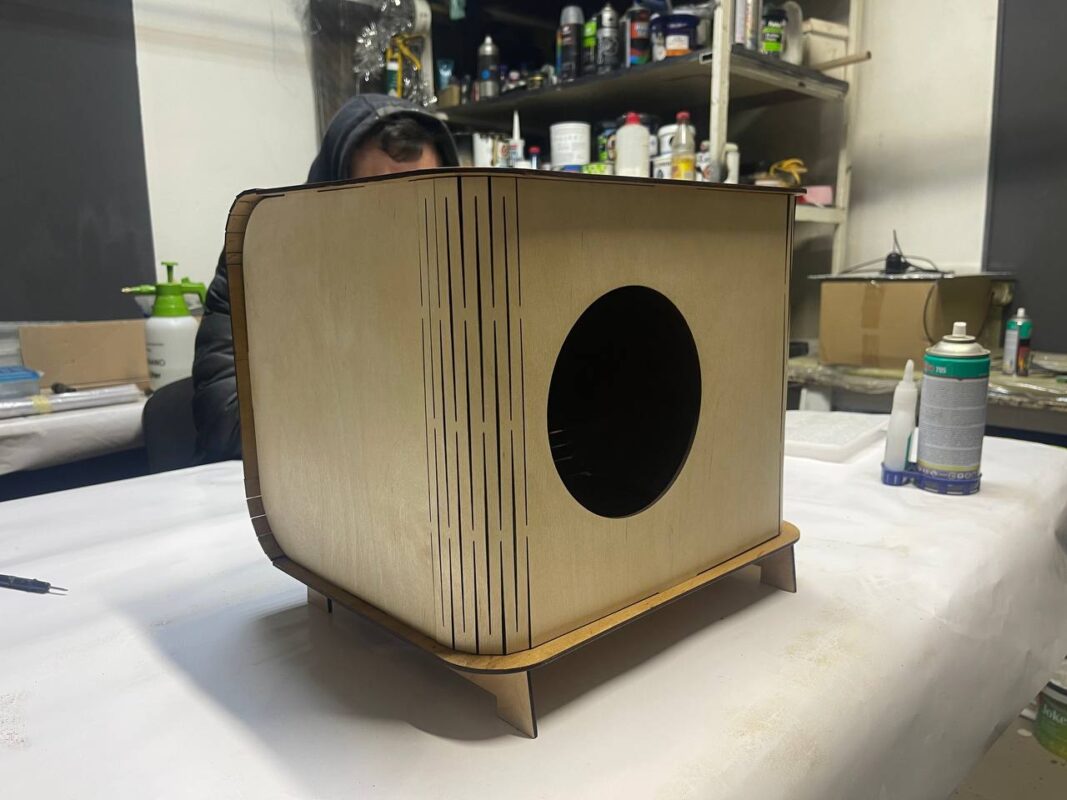
Begin with the side walls. Align the notches and gently slide them together. The panels should fit snugly without forcing them. If it feels tight, that’s good—it’s designed for stability

🪑 Step 3 — Insert the Base
Place the base panel inside the connected walls. Make sure it sits flat and secure. This is your cat’s new throne, so give it a test push for stability

🛏 Step 4 — Add Comfort
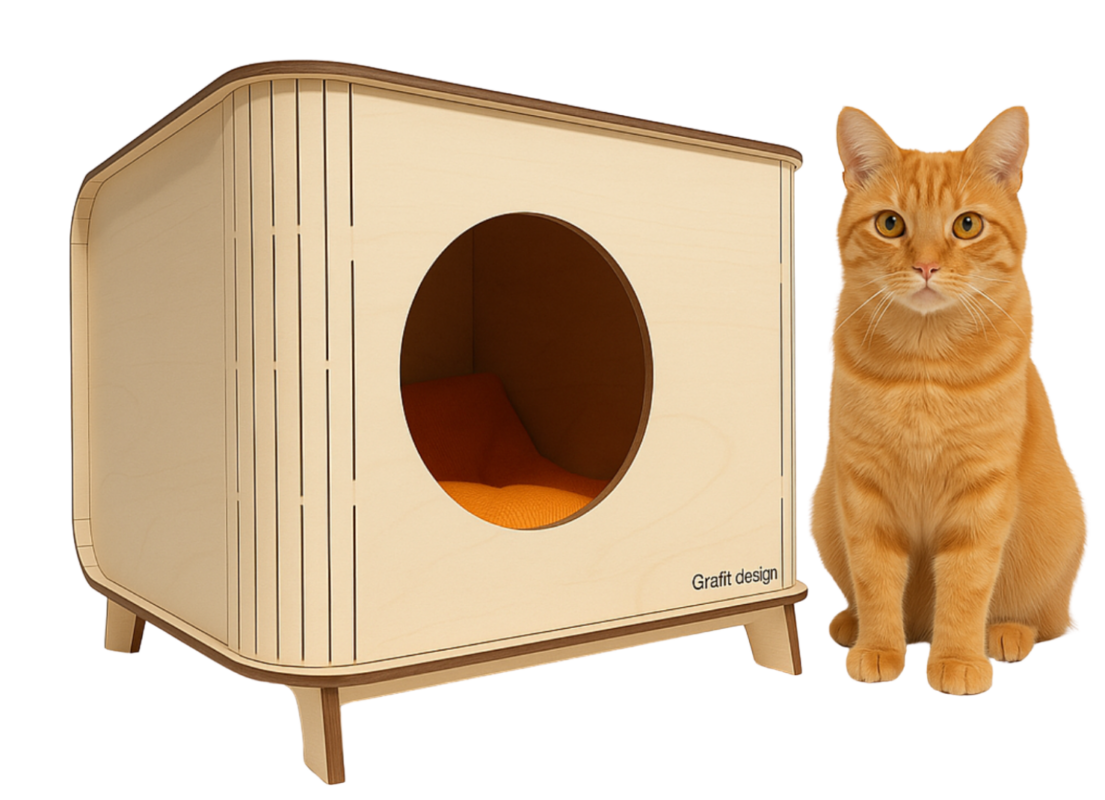
Drop in a soft cushion, a small blanket, or one of our optional Plycat pillows (sold separately). This turns the space from “just a house” into a luxury suite.

🎉 That’s It — You’re Done!
Place the house in a quiet, cozy spot—near a window, under a table, or wherever your cat loves to nap. Within minutes, you’ll have a new tenant who refuses to pay rent but will reward you with purrs


 Українська